 Lavantia
Understand the microbial ecology of porous kitchen cleaning tools and why damp sponges harbor bacteria. You will know exactly when sanitizing helps and when it is safer to swap in a fresh sponge.

- Kitchen sponges accumulate bacteria rapidly due to constant moisture and food residues.
- Microwaving or boiling sponges kills weaker bacteria but may allow resilient strains to survive.
- Replacing sponges every one to two weeks remains the safest hygiene standard.
The standard kitchen sponge sits beside the tap day after day, quietly doing the heavy lifting after breakfast, lunch, and dinner. It wipes egg yolk off stoneware, scrubs tomato paste from cast iron, and gathers grease from baking dishes. Because it is designed to hold soapy water, it stays damp for hours at a stretch. That persistent moisture, combined with warmth and trapped food scraps, turns an innocent cleaning square into an ideal habitat for microscopic life.
Most households treat sponge maintenance as an afterthought, relying on a quick rinse under hot tap water before squeezing it out. When a musty odour finally develops, the debate begins: can this item be sanitized effectively in the microwave or the dishwasher, or should it go straight into the bin? The answer depends on understanding how microbial colonies behave inside porous materials, and why attempts to sterilize a dense sponge often fall short of expectations.
Why porous sponges harbor foodborne bacteria
A standard two-sided kitchen sponge consists of a porous cellulose block bonded to an abrasive synthetic scouring pad. Under low magnification, cellulose looks like a dense labyrinth of open caverns, tunnels, and pockets. This geometry creates capillary action, which is what allows the sponge to pull liquid away from plates. Unfortunately, that same matrix traps microscopic food particles, fats, and moisture deep within interior chambers where light and ambient airflow cannot reach.
Within this warm, damp micro-environment, bacterial populations can double in under forty minutes. Foodborne pathogens such as Campylobacter jejuni, Salmonella enterica, and Escherichia coli enter the sponge through raw poultry prep, cutting boards, or dirty vegetable skins. At the same time, environmental organisms like Moraxella osloensis establish permanent biofilms. Moraxella is a resilient, rod-shaped bacterium known for producing a distinct sour, laundry-like stench as it metabolizes fats and dead skin cells transferred from your hands.
Biofilms are sticky clusters of microorganisms that bind to surfaces and to each other, producing a protective extracellular matrix. Once a biofilm forms inside the internal pores of cellulose, running warm water over the sponge does little more than rinse the outer edges. The interior remains an active incubator. If you use that sponge to wipe a clean dining table or a countertop, you are often distributing a thin film of living bacteria across what was previously a low-risk food preparation zone.
Testing common home sanitizing methods
Home cooks have developed several standard rituals to freshen up sour sponges. Researchers have analyzed these household techniques to see which ones actually reduce the microbial load, and which ones merely mask bad smells temporarily. The most common approaches involve wet heat, automated wash cycles, or mild chemical baths.
| Sanitizing Method | Required Exposure | Observed Bacterial Reduction | Operational Downsides |
|---|---|---|---|
| Microwave on High | 60 to 120 seconds | Substantial reduction on wet cellulose | Fire risk if dry; melts synthetic scrubbing pads |
| Dishwasher with Heat Dry | Full wash cycle with dry cycle | Strong reduction from heat and detergent | Consumes high energy; requires long cycle times |
| Bleach Solution Soak | 5 minutes at 1:10 dilution | Moderate surface reduction | Degrades cellulose quickly; fumes and splash risk |
| Boiling Water Bath | 5 minutes at 100 degrees Celsius | Strong reduction throughout material | Scald hazard; weakens synthetic adhesives |
| White Vinegar Soak | 10 minutes full strength | Inconsistent reduction against resilient strains | Strong acid smell; minimal effect on Moraxella |
The microwave method remains popular because it is fast. When a damp sponge is heated, the water trapped inside boils rapidly, creating localized steam that kills heat-sensitive organisms. The dishwasher method works along similar lines, combining hot water spray between 55 and 65 degrees Celsius with an extended heated dry phase. However, both methods show diminished returns when sponges contain deep, hardened grease deposits that shield microbes from heat penetration.
Chemical soaks, such as submerging the sponge in a solution of household bleach and cool water, can eliminate bacteria near the exterior surfaces. Yet liquid bleach struggles to penetrate dense organic matter trapped in the inner core. Furthermore, sodium hypochlorite accelerates the chemical breakdown of natural cellulose fibers, turning a firm rectangular block into a crumbly, shredded mass within three or four treatments.
The limits of microwaving and boiling
While thermal treatments kill many pathogens, scientific studies published in environmental microbiology journals have revealed an unexpected side effect of home sanitization. Sponges that are regularly microwaved or boiled often exhibit a bacterial community dominated by resilient, heat-tolerant organisms. Much like overusing an daily routine can select for resistant bacteria, repeatedly heating a dirty sponge kills off weaker strains while leaving hardy survivors like Moraxella intact in the deeper cavities.
Once the weaker competitors are eliminated, the surviving bacteria multiply rapidly to fill the vacant space. This explains why a microwaved sponge might smell neutral for a single morning, only to develop a strong sour odor by the following evening. The structural damage caused by repeated boiling also accelerates this process. Heat breaks down the internal pore walls, creating larger, ragged crevices that hold onto greasy food scraps more stubbornly than pristine, factory-cut cells.
There are also practical safety considerations. Microwaving a dry sponge, or one with a metallic scouring layer, poses an immediate fire hazard in the kitchen. Cellulose can ignite in under ninety seconds if it lacks sufficient moisture. Boiling water presents a splash and burn risk when moving dripping sponges between the pot and the sink. At best, thermal treatment is a temporary reset button that buys an extra day or two of utility, not a permanent support an aged, grease-logged tool.
Alternative dish cleaning tools that dry faster
One of the primary reasons sponges harbor immense bacterial colonies is their dry time. In an average kitchen, a standard cellulose block can stay damp for twelve to twenty-four hours after use. Switching to tools that dry within two to four hours dramatically lowers the moisture availability that bacteria require to replicate.
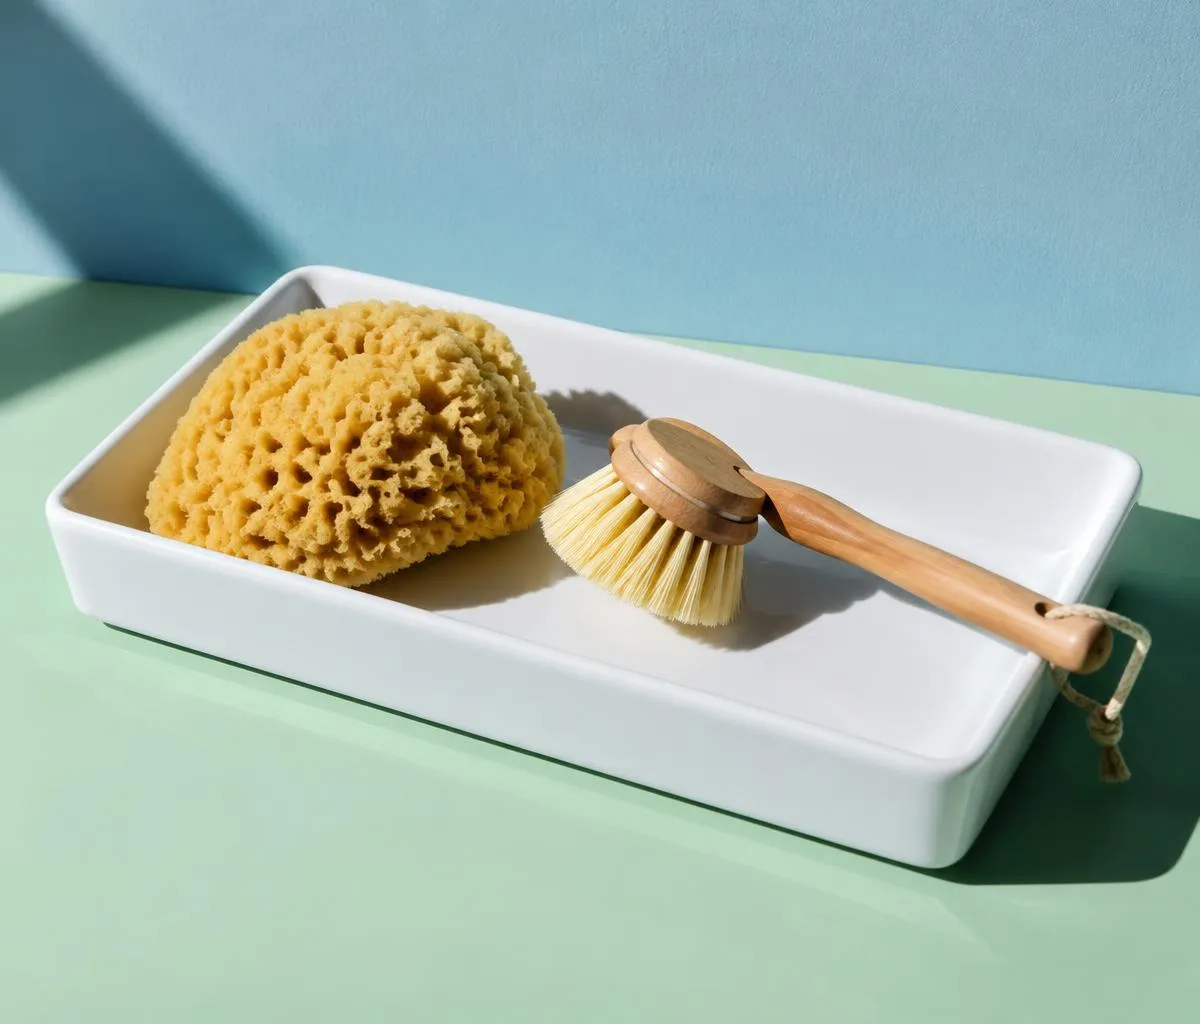
- Natural bristle dish brushes: Wooden or recycled plastic handles paired with tampico, horsehair, or stiff nylon bristles allow water to run off instantly. Air circulates freely between individual bristles, meaning the head is often dry within ninety minutes of use. They keep hands away from dirty wash water and work exceptionally well on pots, pans, and plates.
- Swedish dishcloths: Made from a blend of seventy percent cellulose and thirty percent unbleached cotton, these thin, stiff sheets soften in water to wipe counters and wash dishes. Because they are only a few millimeters thick, they hang flat and dry completely in three hours. They can be tossed into the laundry machine with towels and reused dozens of times without harboring lingering smells.
- Silicone scrubbers: These non-porous pads feature short silicone fingers. Because silicone is completely non-absorbent, water shakes right off. Bacteria cannot penetrate the solid polymer. While they do not produce rich soap lather and lack the cutting power needed for baked-on grease, they work well for light rinsing and non-stick cookware.
- Natural loofah slices: Cut from dried luffa gourds, these plant-based scrubbers offer surprising abrasion without scratching delicate glazes. Their fibrous network is wide, loose, and open, allowing water to drain far more quickly than dense commercial cellulose. They are fully compostable once worn out.
Many home cooks find that separating tasks by tool type is the most practical strategy. A stiff brush handles pots, pans, and heavy dish scraping. A Swedish dishcloth handles surface wiping and glassware. By retiring the traditional thick sponge from everyday plate washing, you eliminate the primary vector of sink-side bacterial growth.
A reliable replacement schedule for heavy-use kitchens
If you prefer the feel and lather of a conventional cellulose sponge, adopting a strict replacement calendar is far safer than attempting endless sanitizing cycles. The cost of a multi-pack of simple sponges is negligible compared to the inconvenience of cross-contaminating prep areas during meal preparation.
For an active kitchen where three meals are cooked daily, a sponge should be retired from dish duty after seven to ten days of service. In lighter-use households where cooking occurs only a few nights per week, a sponge may last fourteen days before deep-seated contamination sets in. Relying on your nose is an unreliable metric: by the time an unmistakable sour odor is detectable across the room, the bacterial population has already exceeded hundreds of millions of cells per cubic centimeter.
Watch for physical cues that tell you a sponge has reached the end of its useful dishwashing life:
- The scouring backing begins to pull away from the cellulose base, creating a pocket that collects trapped solids.
- The cellulose changes color, develops dark specks, or looks slimy even after being washed with dish soap.
- The sponge loses its elasticity and feels floppy, crumbly, or permanently greasy to the touch.
- Water squeezed from the sponge runs slightly cloudy rather than clear.
Retiring a sponge from food surfaces does not mean it must go straight to the landfill. Demote the used sponge to a secondary tier of dirty household chores. Cut one corner off the sponge with scissors so it can be identified at a glance, then store it under the sink. Use these demoted sponges for scrubbing baseboards, wiping mud off gardening shoes, cleaning outdoor trash cans, or washing vehicle wheels. After one or two rough outdoor tasks, dispose of it permanently.
Proper storage tricks to speed up drying
How you store your cleaning tools between uses influences bacterial growth just as much as how often you clean them. Leaving a sopping wet sponge flat on the stainless steel sink ledge guarantees it will sit in a stagnant pool of runoff water, preserving the damp conditions bacteria enjoy.
The goal of proper storage is maximizing air circulation around all six sides of the sponge. A wire caddy that mounts to the interior wall of your sink with suction cups or an over-the-faucet hook is the most practical accessory you can add. Look for caddies with open wire grids or broad drainage slots rather than solid plastic trays with tiny holes that clog with soap residue.
Always squeeze the sponge out firmly before putting it away. Do not twist or wring the sponge hard, as twisting shears the internal cellulose fibers and tears the scouring pad bond. Instead, place the sponge between flat palms and press firmly together to expel water without warping the shape. Then, stand the sponge upright on its thinnest edge in the wire rack rather than laying it flat. Resting on its narrow edge exposes maximum surface area to room airflow, cutting the time required to dry out by roughly forty percent.
Common mistakes to avoid
Even well-intentioned cleaning habits can backfire if basic sanitation principles are ignored. One frequent error is using the dish sponge to mop up raw chicken, meat juices, or cracked eggs from cutting boards. Doing this introduces dangerous raw-meat pathogens straight into the inner core of the sponge. When dealing with raw animal proteins, use paper towels or a dedicated rag that goes straight into the hot laundry hamper immediately afterward.
Another widespread mistake is soaking sponges in a sink full of dirty wash water overnight. Leaving a sponge submerged in lukewarm, food-flecked water provides bacteria with continuous moisture and unlimited nutrients. When you return in the morning, the water is cloudy and the sponge is heavily contaminated.
Finally, avoid relying on commercial "antimicrobial" treated sponges to bypass regular replacement. These products usually contain compounds designed to inhibit the growth of mold and odor-causing bacteria within the sponge itself, preventing premature decay of the synthetic fibers. They do not kill active viruses or foodborne pathogens on contact, nor do they sanitize the plates you wipe with them.
Closing next steps for a cleaner sink area
Transforming your sink routine does not require specialized equipment or complicated chemical regimens. Begin by taking an objective look at your current dish sponge. If it has been sitting beside your faucet for more than two weeks, if it feels sticky, or if it produces a faint sour note when damp, throw it into the trash or assign it to the garage tool bucket today.
For the coming week, set up a dedicated drying rack inside your sink basin that keeps tools elevated above resting moisture. Consider introducing a long-handled bristle brush for scrubbing cookware and plates, reserving a fresh cellulose sponge strictly for glassware and gentle washing. If you choose to keep standard sponges in your rotation, mark your calendar to swap them every other Sunday. A predictable replacement schedule takes the guesswork out of kitchen hygiene, keeping your meal prep surfaces clean and your dish routine remarkably fresh.
This publication provides general hygiene information only; consult a board-certified dermatologist or healthcare professional for specific skin conditions. Disclaimer